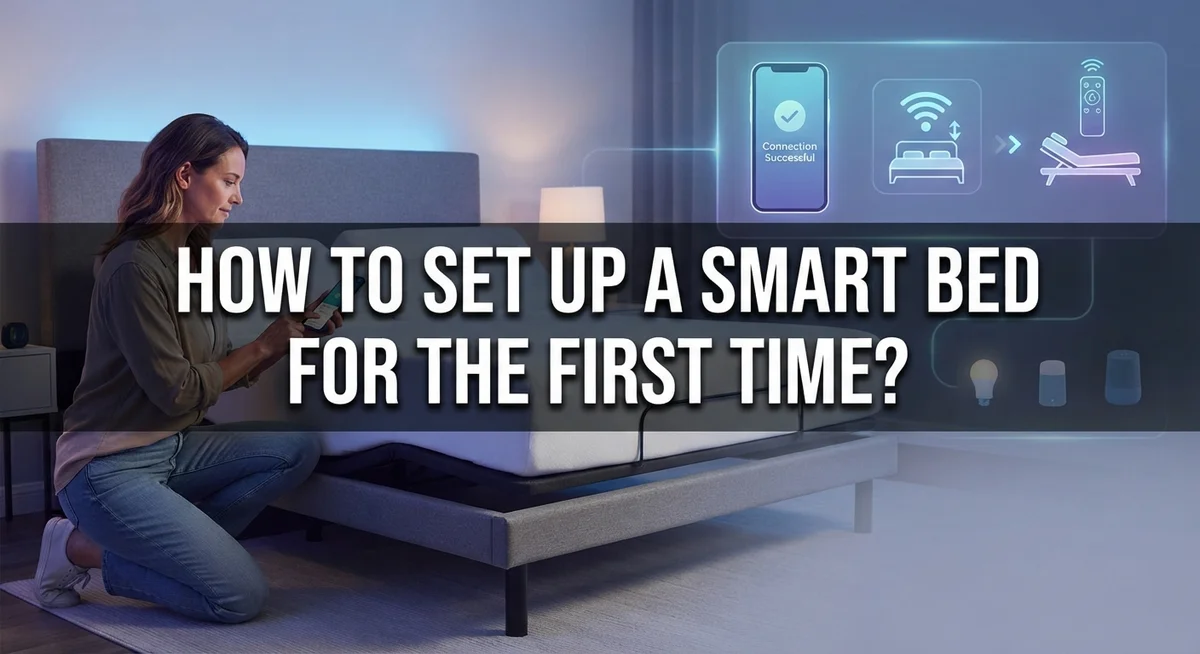
How to Set Up a Smart Bed for the First Time?
Getting a new smart bed feels exciting. But that box of parts can look confusing at first.
You want comfort fast. You do not want to spend hours guessing which hose goes where.
The good news? Setting up a smart bed is simple once you know the steps. This guide walks you through the entire process from start to finish.
We will show you how to position your mattress on the frame. You will learn how to unzip the cover and route the air hoses correctly.
We also cover connecting everything to the control system. Then we explain how to close the cover safely and start your first inflation.
You will discover key tips that make setup smoother. We also point out common mistakes people make so you can avoid them.
By the end, you will know exactly how to inflate both sides to full capacity. You will understand why unplugging the bed after setup matters too.
Whether you assemble it yourself or use professional delivery, this guide gives you the confidence to get your smart bed ready for its very first night of better sleep.
In a Nutshell
Setting up your smart bed does not need to feel hard. Here is a quick summary to guide you through the process.
-
Clear your space first. Make room around your bed frame before you start. This gives you room to move and work without bumping into things.
-
Position and unzip the mattress. Place the mattress on the frame. Then unzip the cover to reach the inside layers.
-
Route the air hoses carefully. Insert the hoses and route them the right way. This step prevents tangles and leaks later.
-
Connect everything to the control system. Link the hoses to the control unit. This connection lets the app or remote manage air flow.
-
Inflate both sides to full capacity. Use the app or remote to inflate each side to 100. Full inflation helps the bed settle properly.
-
Unplug after setup finishes. Once your bed reaches the right firmness, unplug it from the wall. There is no need to keep it plugged in.
Follow these steps, and your smart bed will be ready for a comfortable night’s sleep.
What Is a Smart Bed and How Does It Work?
A smart bed is a mattress with an air inflation system built inside. This system lets you control how firm or soft your bed feels. You adjust the firmness using an app on your phone or a remote control that comes with your bed.
Here’s how it works. Air chambers sit inside the mattress. These chambers fill with air or release air based on your commands. The control system manages this inflation process. Each side of the bed has its own air chamber. This means you and your partner can set different firmness levels. One person might want a very firm surface while the other prefers something softer.
The smart bed connects to your home through a control unit. This unit plugs into an electrical outlet. The unit receives signals from your app or remote. When you adjust the firmness setting, the signal travels to the control unit. The unit then tells the air chambers to inflate or deflate.
Most smart beds use a scale from 1 to 100 for firmness. A setting of 1 feels very soft. A setting of 100 feels very firm. You find your perfect comfort level by testing different numbers.
The system also tracks your sleep data in some cases. The app records how many hours you sleep and your sleep quality. This information helps you understand your sleep patterns over time.
Smart beds require electricity to operate. The control unit must stay plugged in so the system maintains your chosen firmness level. If power goes out, your bed holds its current firmness for several hours before slowly deflating.
The beauty of a smart bed is customization. You change firmness whenever you want. You wake up and prefer something softer? Adjust it instantly. Your needs change throughout the night? The system responds immediately. This flexibility makes smart beds different from traditional mattresses where firmness stays the same.
Preparing Your Space and Tools Before Setup
Before you bring your smart bed home, spend time getting your bedroom ready. Preparation makes the entire setup process faster and easier.
Start by measuring your bedroom doorways and hallways. Your mattress box is large, so you need to confirm it fits through every passage. Measure the frame too. Write down these measurements so you know exactly what space you need.
Next, clear the area around your bed frame completely. Remove furniture, boxes, and other items from the space. You need at least two feet on each side of the frame for comfortable maneuvering. This extra room prevents frustration during assembly.
Check your electrical outlets near the bed. Your smart bed control system needs a power source within reach. Make sure the outlet works properly by plugging in a lamp first. You may need an extension cord if the outlet is far away.
Gather your tools before delivery arrives. You will need a Phillips head screwdriver, a flashlight, and possibly an adjustable wrench. Keep these items in one spot so you find them quickly. Having tools ready prevents delays.
Remove all bedding from your frame beforehand. This includes sheets, blankets, and pillows. Store them in another room temporarily. You need a completely bare frame to position the mattress correctly.
Check your smartphone or tablet battery level. You will use your device to control inflation through the app. A fully charged device prevents interruptions during setup.
Verify your WiFi connection works in your bedroom. Walk around the room with your phone and check signal strength. A strong connection ensures smooth communication between your device and the bed system.
Finally, clear a small table or shelf nearby for the control unit. The control system needs a stable, flat surface close to your bed. Keep it away from water sources and direct sunlight. These simple preparations create the perfect environment for successful smart bed setup.
Step-by-Step Guide to Assembling Your Smart Bed
Your smart bed uses an air inflation system that you control through an app or remote. The system lets each side of the bed have its own firmness level. This means you and your partner can sleep at different comfort settings.
The control unit is the brain of your smart bed. It connects to the air chambers inside your mattress and manages inflation and deflation. Most systems use a scale from 1 to 100, where 1 feels very soft and 100 feels very firm.
Electricity powers everything. Your smart bed needs to stay plugged in during normal use so the system maintains your chosen firmness level. The air chambers need constant power to hold their settings.
Smart beds track sleep data in many cases. The system monitors how long you sleep and may record your sleep patterns. You can view this information through the app to understand your sleep habits better.
The dual side inflation feature is a major benefit. You adjust your side independently from your partner’s side. This means no more compromises about mattress firmness.
The app or remote gives you complete control. You can change firmness anytime, even in the middle of the night. If you want to feel more support, you simply increase the number. If you want to feel softer, you decrease it.
Your smart bed also responds to temperature changes. Air naturally expands and contracts based on room temperature. The system automatically adjusts to keep your firmness consistent.
Setup takes about 30 minutes once everything is in place. The process involves connecting hoses, sealing the cover, and inflating both sides. After inflation finishes, your bed is ready to use immediately.
Understanding how your smart bed works helps you use it properly. You’ll get better sleep when you know how to adjust settings for your comfort. The system becomes easier to use once you familiarize yourself with the app or remote controls.
How to Calibrate and Inflate Your Smart Bed Correctly
Start by unpacking your smart bed and positioning the mattress on your frame. Make sure the frame sits flat and level. Remove the mattress cover’s zipper carefully to access the air chamber inside.
Next, locate the air hoses that came with your bed. These tubes connect the mattress to your control system. Route the hoses through the designated openings on the mattress cover before you seal it back up. This step is critical because you cannot easily access them once the cover closes.
Connect each hose to your control unit. Most systems have clearly marked ports for left and right sides. Push the hoses firmly into place until you hear or feel them click. Check that all connections are secure and there are no gaps.
Close the mattress cover zipper completely. Make sure the cover sits evenly and the seams align properly. A loose cover can cause air leaks and reduce firmness accuracy.
Now inflate your bed to 100 on both sides using your app or remote control. This initial full inflation helps the mattress settle into its final shape. Leave it at this level for about 30 minutes. The air chamber expands and the materials adjust to the pressure.
After the settling period, you can adjust the firmness to your preferred level. Most people find comfort between 40 and 80, depending on their preferences. Adjust each side independently if you sleep with a partner.
Check for any hissing sounds or visible air leaks around connections and seams. Tighten hose connections if you notice leaks. Listen carefully near the control unit and mattress edges.
Once everything feels secure and your bed holds its firmness setting, your calibration is complete. Your smart bed is now ready for use. The system will maintain your chosen firmness throughout the night automatically.
Connecting Your Smart Bed to the App or Remote
Your smart bed communicates with you through either a mobile app or a physical remote control. Both methods give you the same power to adjust your mattress firmness instantly.
Start by downloading the app to your smartphone or tablet. Most smart bed systems require you to create an account first. You will need your WiFi network name and password to connect the bed to your home network. The app guides you through each step with clear instructions on screen.
Open the app once your bed is positioned on the frame. Look for the inflation or firmness control section. You should see two separate controls if your bed has dual side inflation. One control adjusts the left side, and the other controls the right side independently.
Tap the inflate button to begin filling your mattress with air. Watch the firmness number climb from zero to 100. The system fills both sides simultaneously unless you choose individual adjustment. Most people start at 100 firmness during initial setup so the bed reaches full capacity.
If you prefer using a remote control instead, the buttons work the same way. Press the up arrow to increase firmness and the down arrow to decrease it. Your remote displays the current firmness level on a small screen. Keep your remote on your nightstand for easy access.
Test both control methods before settling into bed. Make sure the app responds quickly to your taps. Check that the remote buttons register without delay. If either method feels unresponsive, restart your WiFi router and try reconnecting.
Store your remote in a safe spot where you can reach it easily at night. Keep your phone charged so you can adjust settings anytime. Some apps also let you save your favorite firmness settings as presets. This feature saves time if multiple people share the bed with different preferences.
Common Setup Mistakes and How to Avoid Them
Setting up a smart bed involves several steps where mistakes commonly happen. Understanding these errors helps you avoid frustration and get your bed working perfectly from day one.
The biggest mistake people make is routing air hoses incorrectly before sealing the mattress cover. You must insert both hoses into the mattress and position them properly before you zip the cover closed. If you seal the cover first, you cannot access the hoses later. Take time to thread each hose carefully through the designated channels inside the mattress.
Another common error is not inflating to full capacity initially. Your bed needs to reach 100 on both sides during the first setup. This initial inflation helps the mattress settle and calibrate properly. Many people stop inflating too early, which prevents the system from functioning correctly.
Some users leave their bed plugged in during storage or when they travel. Your smart bed should stay plugged in during regular use to maintain firmness settings. However, unplugging it after setup is complete prevents unnecessary power drain. Only keep it connected when you actively use the bed.
Failing to check hose connections causes leaks and loss of firmness. Before closing the mattress cover completely, inspect where each hose connects to the control unit. Make sure connections are tight and secure. Listen for hissing sounds that indicate air escapes.
Not removing all bedding before initial inflation creates problems too. Strip your bed completely before inflating for the first time. Blankets and sheets can interfere with the mattress settling into its proper shape.
Finally, rushing through the setup process leads to oversights. Spend 30 minutes carefully following each step. Read your instructions twice before beginning. Take breaks between steps to ensure nothing gets missed. Slow and steady setup prevents costly mistakes later.
Troubleshooting Common Setup Issues
When you first set up your smart bed, several issues can pop up. Knowing how to fix them saves you time and frustration.
Air leaks are the most common problem. You’ll notice your bed loses firmness overnight or hisses when you press on it. Check all connection points where hoses meet the control unit. Make sure each hose clicks or locks into place firmly. Inspect the mattress seams and around the zipper for visible cracks. If you find a leak, stop using the bed and contact support before continuing.
Your bed won’t inflate at all. This usually means the hoses aren’t connected properly. Unzip the cover and trace each hose from the mattress to the control system. Make sure nothing is pinched or twisted. Verify that your app or remote has power and shows a connection to the bed. Try restarting both devices if they won’t communicate.
The firmness feels uneven between sides. One side might inflate faster or reach a different number than the other. This happens when hoses are routed unevenly inside the mattress. Deflate both sides completely, then re inflate them slowly while watching the numbers climb at the same speed. If one side still lags behind, a hose blockage may exist.
Your control unit won’t turn on. Check that it’s plugged into a working outlet. Try a different outlet to rule out electrical issues. Look for a reset button on the unit itself. Hold it for several seconds, then try powering on again.
Strange noises come from the bed. Clicking or popping sounds often mean air is moving through new hoses. This is normal during initial inflation. Loud hissing indicates a leak that needs immediate attention.
Take photos of your setup before sealing the cover. This helps you troubleshoot later if problems arise. Contact support with these photos if issues persist beyond basic fixes.
Final Thoughts
Setting up your smart bed takes patience, but it’s a simple process once you know the steps. You unpack the mattress, route the hoses, and inflate both sides to your liking. That’s really all there is to it.
Take your time during setup. Rushing leads to mistakes like tangled hoses or improper sealing. A slow, careful approach saves you headaches later.
Remember to clear your space before you start. This makes maneuvering the mattress and accessing the frame much easier.
Your smart bed rewards you with personalized comfort once it’s running. Each side inflates independently, so you and your partner get exactly the firmness you want. No more compromising on a mattress that only half fits your needs.
Keep the app or remote handy even after setup finishes. You’ll use it regularly to adjust firmness as your preferences change with the seasons or your sleep needs.
Unplugging the bed after initial setup is a small but important step. It saves energy and prevents unnecessary wear on the control unit.
If problems arise during setup, don’t panic. Most issues trace back to hose connections or incomplete inflation. Checking these first solves the majority of setup troubles.
Your new smart bed represents a real upgrade to your sleep quality. The setup process might feel unfamiliar at first, but it becomes routine quickly.
Think of this initial setup as an investment in better rest. Each step you complete brings you closer to a mattress that adjusts to your body, not the other way around.
Once everything’s connected and inflated correctly, you’ll wonder how you slept without this level of customization. Enjoy your new sleep experience and don’t hesitate to revisit these steps if you ever need to reset or troubleshoot your bed down the road.
Frequently Asked Questions
Do I need an app to set up my smart bed?
Yes, you’ll need either the mobile app or a remote control to inflate your smart bed during setup. The app lets you adjust firmness levels on each side independently. Most smart beds come with both options, so you can choose whichever works best for you.
How long does initial setup take?
Most people complete setup in 30 to 45 minutes. The process involves unpacking, positioning the mattress, routing air hoses, and connecting everything to your control system. Taking your time during this stage helps you avoid mistakes that could cause problems later.
Can I adjust firmness differently on each side?
Absolutely. Smart beds use dual air chambers, so each side inflates separately. This means you and your partner can set different firmness levels based on your personal preferences. You control each side through your app or remote independently.
What should I do right after inflating the bed?
After you inflate both sides to 100, unplug the control unit from the wall outlet. This is an important step that many people skip. Leaving it plugged in unnecessarily drains energy and isn’t needed once your bed reaches full inflation.
What if my bed won’t inflate at all?
Check your hose connections first. Make sure all air tubes connect firmly to both the mattress and the control unit. Verify that your control unit is plugged into a working outlet and turned on. If connections look secure and the unit is powered, contact support for assistance.

DK is the founder of Deep Slumber Finds, where he combines a genuine passion for quality sleep with thorough product research to help readers make confident buying decisions. When he’s not testing mattresses or comparing pillows, you’ll find him exploring the latest sleep science and hunting down the best deals so you don’t have to.